Do you use your camera in automatic mode but feel that something is missing in your exposure technique ? This article goes through the advantages of shooting in manual mode for street photography. It also provides some tips and covers topics such as the Sunny 16 rule, the use of a lightmeter and how to operate your camera.
I) Why switch to manual exposure mode ?
– you take the decision. Whatever the processor and algorithms of your camera's exposure system, it will never be able to determine which are the important parts of the scene. Indeed, there are no algorithms for emotions, creativity or social interaction, your camera only computes the amount of light that a scene reflects. Since you do take decisions on framing, composition and the message of a scene, why not do so then for the amount of light that will hit the sensor/film ?
The shot below was very tricky to expose due to the extreme contrast of the scene. I decided to preserve the highlights, allowing for the background to lay in the dark. In automatic mode, most metering systems would have probably blown the highlights on the waiter's shirt.
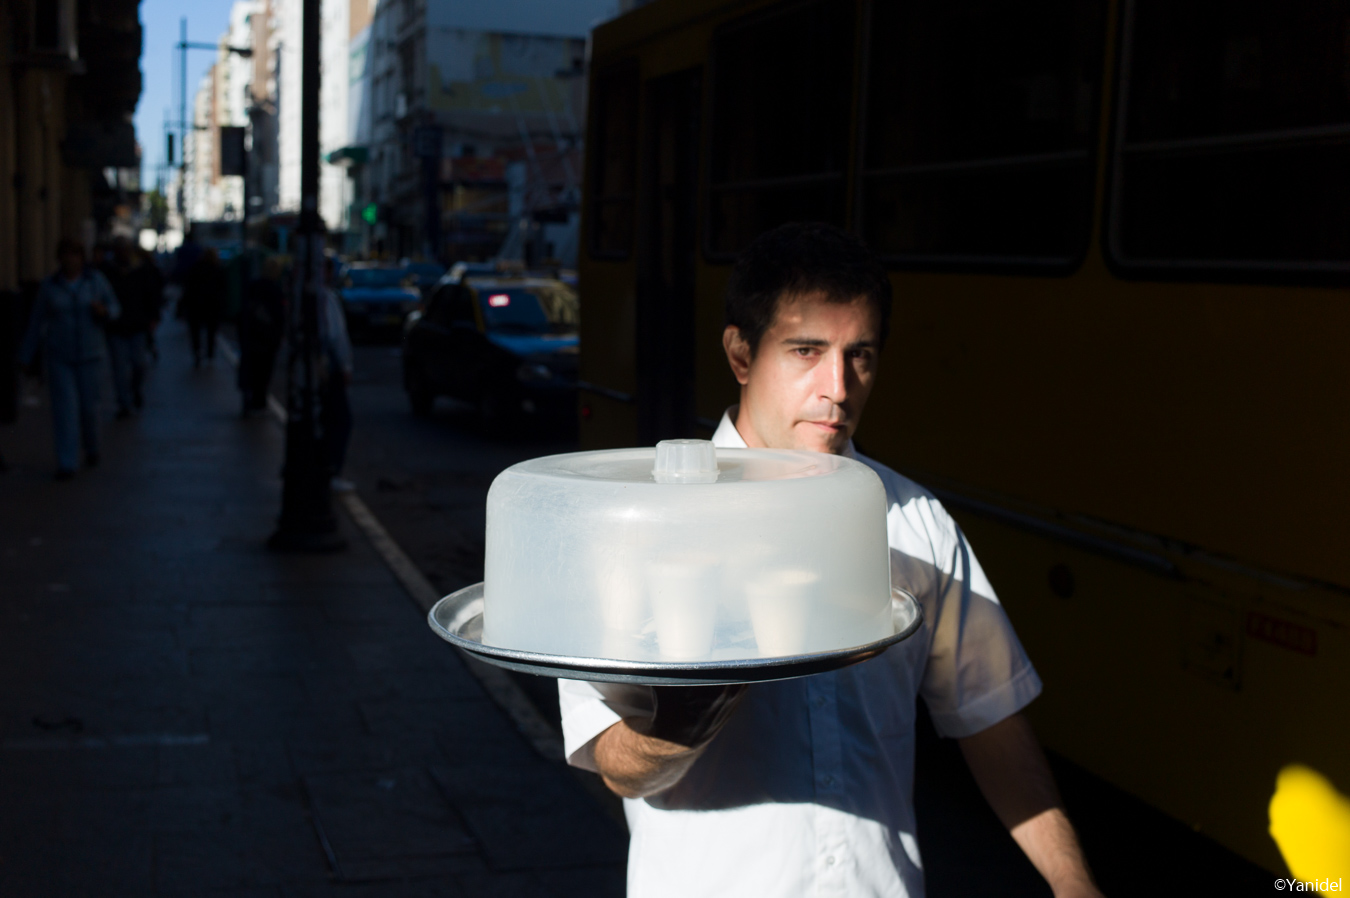
Rosario – Leica M9 with 35mm Summilux Asph at F4.0, 1/1000, ISO200, ND 0.6 filter
– it helps you understand light. Evidently, I won't teach you anything by telling you that photography is about light. Yet, many people actually never pay special attention to it as they shoot. They do not analyze where it comes from, whether it is reflected, whether it is cold or warm or does it slightly change from one street corner to the other. They simply let the camera perform its computations and trust they will get a good output. A good understanding of light does lead to better decisions on the exposure setting to apply on selected street scenes.
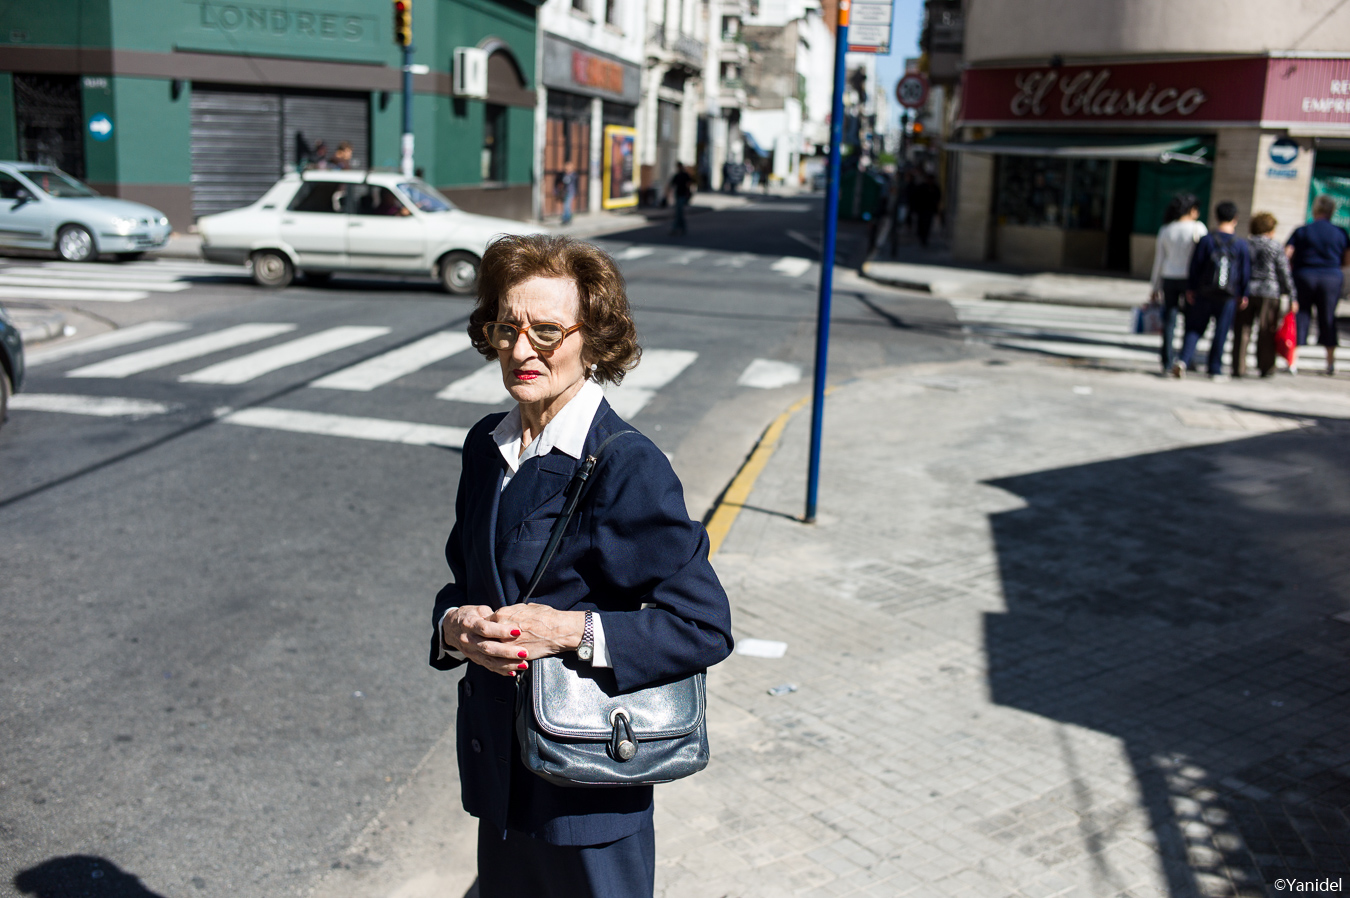
Another tricky scene in terms of exposure due ot the high contrast. Here again, my choice was to expose for the highlights, closing the aperture to F5.6 and going for a speed of 1/1000th.
Rosario – Leica M9 with 75mm Summicron at F5.6, 1/1000, ISO160
– it provides more consistency within a series. Automatic exposure system will either vary the ISO level (Auto-ISO), the aperture or the speed. You might therefore end up with a picture mix with different ISO levels, depth of fields and sharpness depending on the exposure mode you selected. It might not matter to all, but for those street photographers looking for a constant look, manual mode might make it easier.
– personal satisfaction. Yes, it is a great feeling to operate a camera without any help on exposure (or focus in the case of a rangefinder). Good-bye to automatisms, you are the master of light.
II) The basics of exposure – Sunny 16
No, this is not the name of a famous cocktail but the one of a set of rules to help you to set the correct exposure in manual mode. Obviously, switching to all manual mode is quite challenging in the beginning. Not only one must learn to understand light, but also to set the exposure parameters on your camera. Since theses parameters are three (aperture, speed and ISO), the number of combinations for a same amount of light are numerous. Hopefully, the Sunny 16 rule is there to help you. Indeed for a given light condition, it states the shutter speed and aperture corresponding to an ISO level. For example, let's have a look at the most famous set of parameters (which gave the name to this rule) :
On a sunny day, at ISO100, an aperture of F16 requires a shutter speed of 1/125
Therefore, when increasing the ISO to 200, one of the other parameters must double to compensate the extra light, in this case the shutter speed. So the equation becomes :
On a sunny day, at ISO200, an aperture of F16 requires a shutter speed of 1/250.
The following pictures shows an area where highlights are slightly burnts. An increase of speed of a half stop would probably have taken care of it.
Parana – Leica M9 with 35mm Summilux Asph at F4.0, 1/125, ISO200
Obviously F16 is probably not an aperture that many of us use, so you'll need to build your own set of rules based on your equipment and preferences. For example, I came up with the following combinations which correspond to the aperture and ISO settings I use the most :
Sunny day, ISO200, F1.4, 1/4000, (ND 0.6 filter mounted)
Sunny day, ISO200, F2.8, 1/4000
Sunny day, ISO200, F8.0, 1/500
Overcast, ISO200, F2.8, 1/500
Shadows, ISO200, F1.4, 1/500
Interiors, ISO800, F1.4, 1/125
When walking in the streets, my camera will always be set to the combination that best suits the current light condition. Thus I'll be ready for any shot with no need to adjust the exposure further. The exposure might sometimes end up slightly off the optimum exposure, but at least you won't miss the shot. Also, most cameras will provide an indication within the viewfinder on how your exposure choice compares to its own calculation. In case of large discrepancy you might still question your settings and adjust if necessary.
A good tip for those that would like to try all manual exposure is to create a spreadsheet that lists your most common light conditions, as well as apertures, ISO's and the corresponding shutter speeds. Once done, print it very small then tape it on top of your camera (the Leica M's have enough room). By doing so, you'll instantly have access to these sets of parameters for a given light condition, without having to do mental calculus. Keep this table on your camera until you memorize them.
As in the shot below, an aperture of F2.8 and a shutter speed of 1/4000 are my basic settings while walking the street on a bright sunny day.
Rosario – Leica M9 with 35mm Summilux Asph at F2.8, 1/4000, ISO200
III) ISO level
As I wrote above, for the sake of consistency of look and to simplify the Sunny 16 rules application, I try to adjust the ISO setting as little as possible. ISO200 is therefore my base level. The digital Leica's and many other manufacturers do sometimes allow ISO's to go as low as ISO100 or even ISO50, yet I feel these levels are not as versatile for street photography. Indeed, if you elected ISO50 and suddenly chose to stop down to F11, the resulting shutter speed will be of 1/60th on a sunny day. This would put at risk the sharpness of your picture. On the contrary, at ISO200, you always ensure that you won't go below 1/125th in normal light conditions. ISO400 is another versatile option for street photography and together with ISO800, the most used by street photographers.
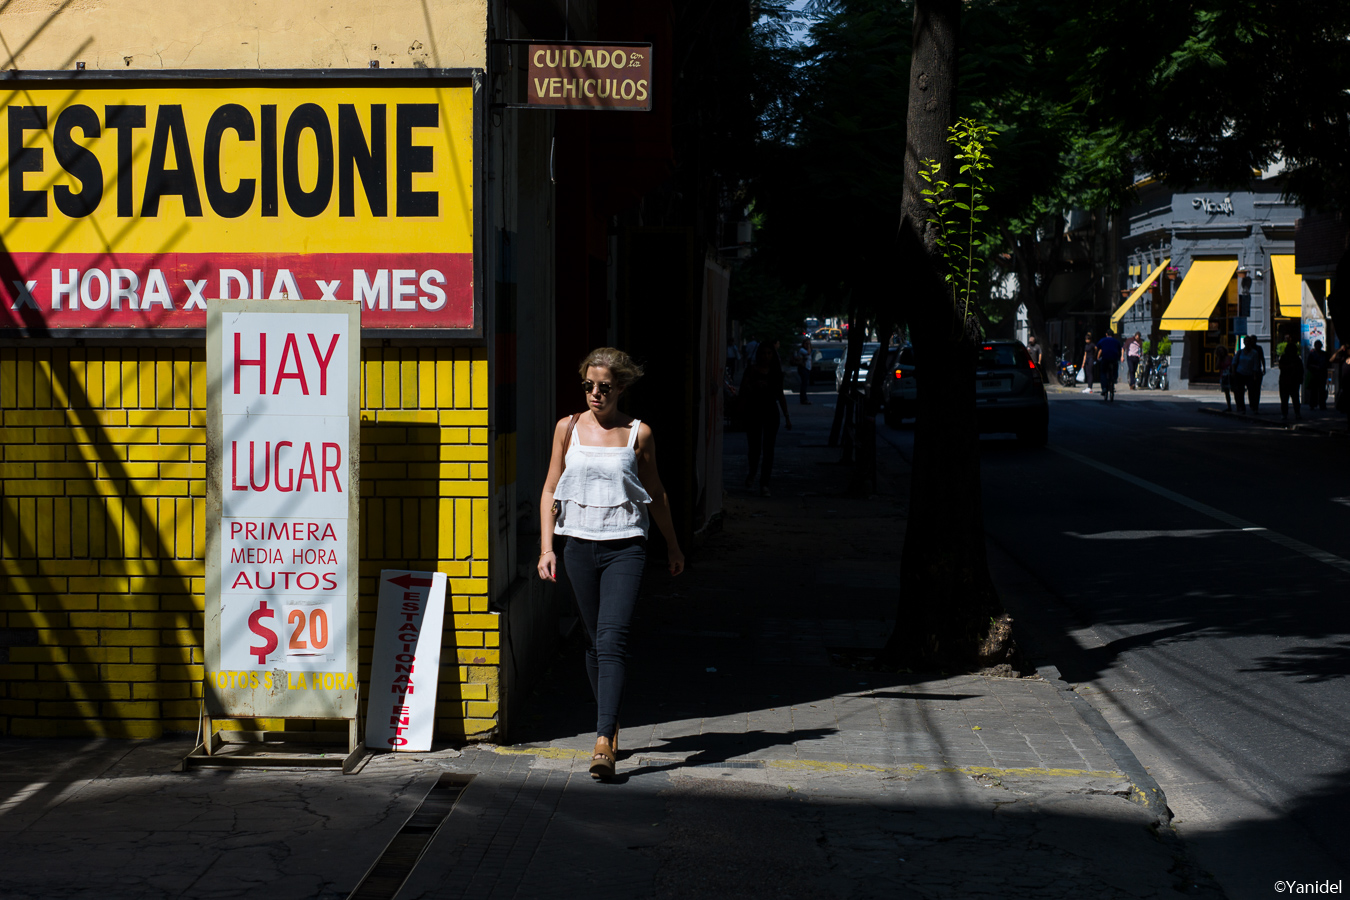
Taken with the 60mm Hexanon, I had to stop down the lens to F4.0 to have a larger depth of field, I had to raise the ISO to 320 to allow a shutter speed of 1/125 and avoid excessive blur by the motion of the lady.
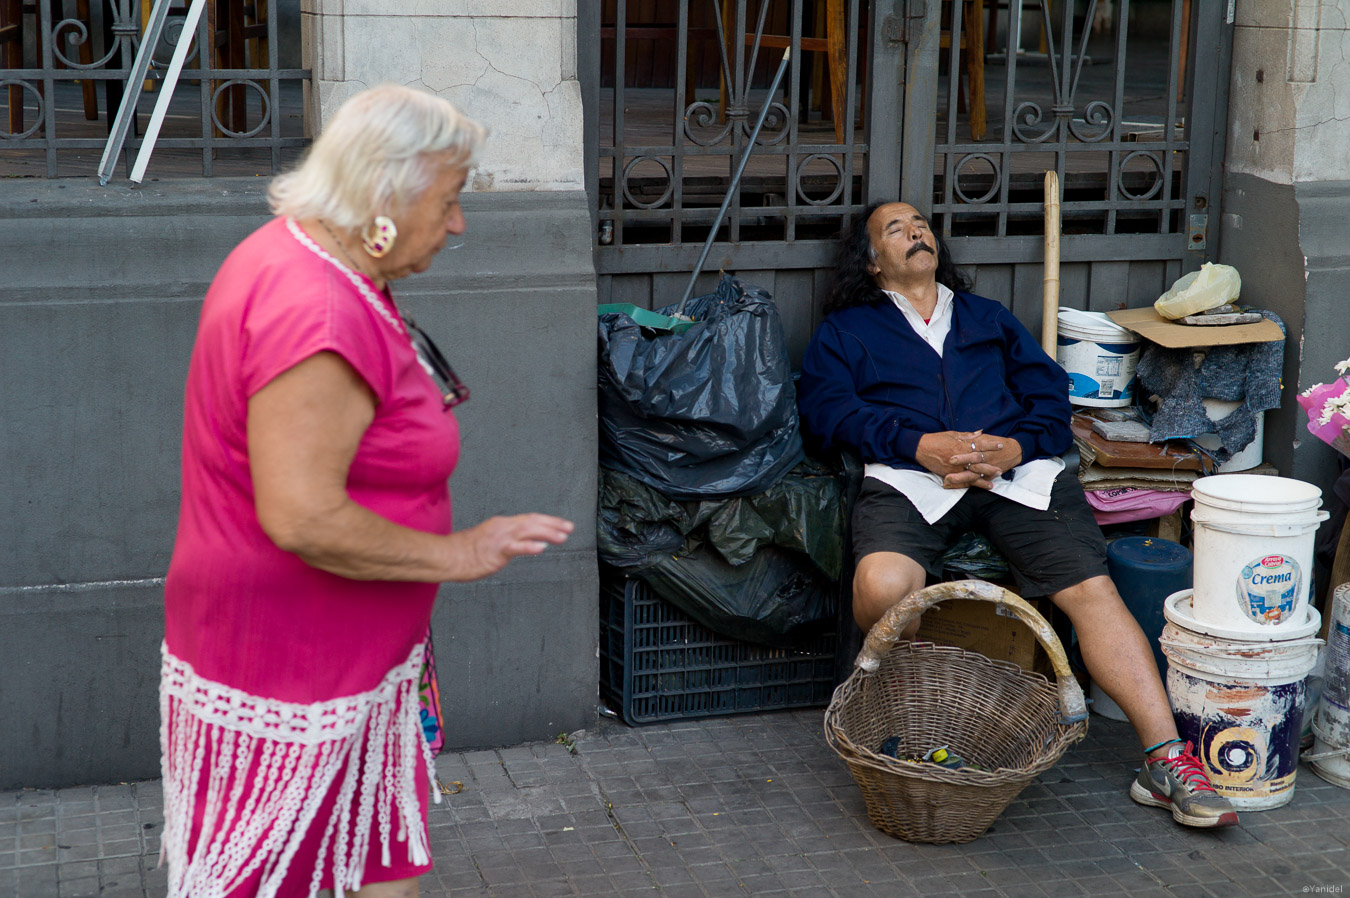
Leica M9 with 69mm Hexanon at F4.0, 1/125, ISO320
For interior shots, I almost exclusively use ISO800. This way I am sure that a F1.4 or F2.0 lens will allow shutter speeds of around 1/125th. At night, I either stick to ISO800, or go up to ISO1600 when absolutely needed as it will test the limits of acceptable image quality (at least on a digital Leica M). Here, shutter speeds will usually be around 1/60th in a street lamps lit avenue. You'll still be able to get sharp shots provided your subjects are not moving too fast. This being said, you'll probably have to go down to 1/8th for some very low light scene. I consider it as my lower limit, yet I know some people can hold steady their camera to 1/4th.
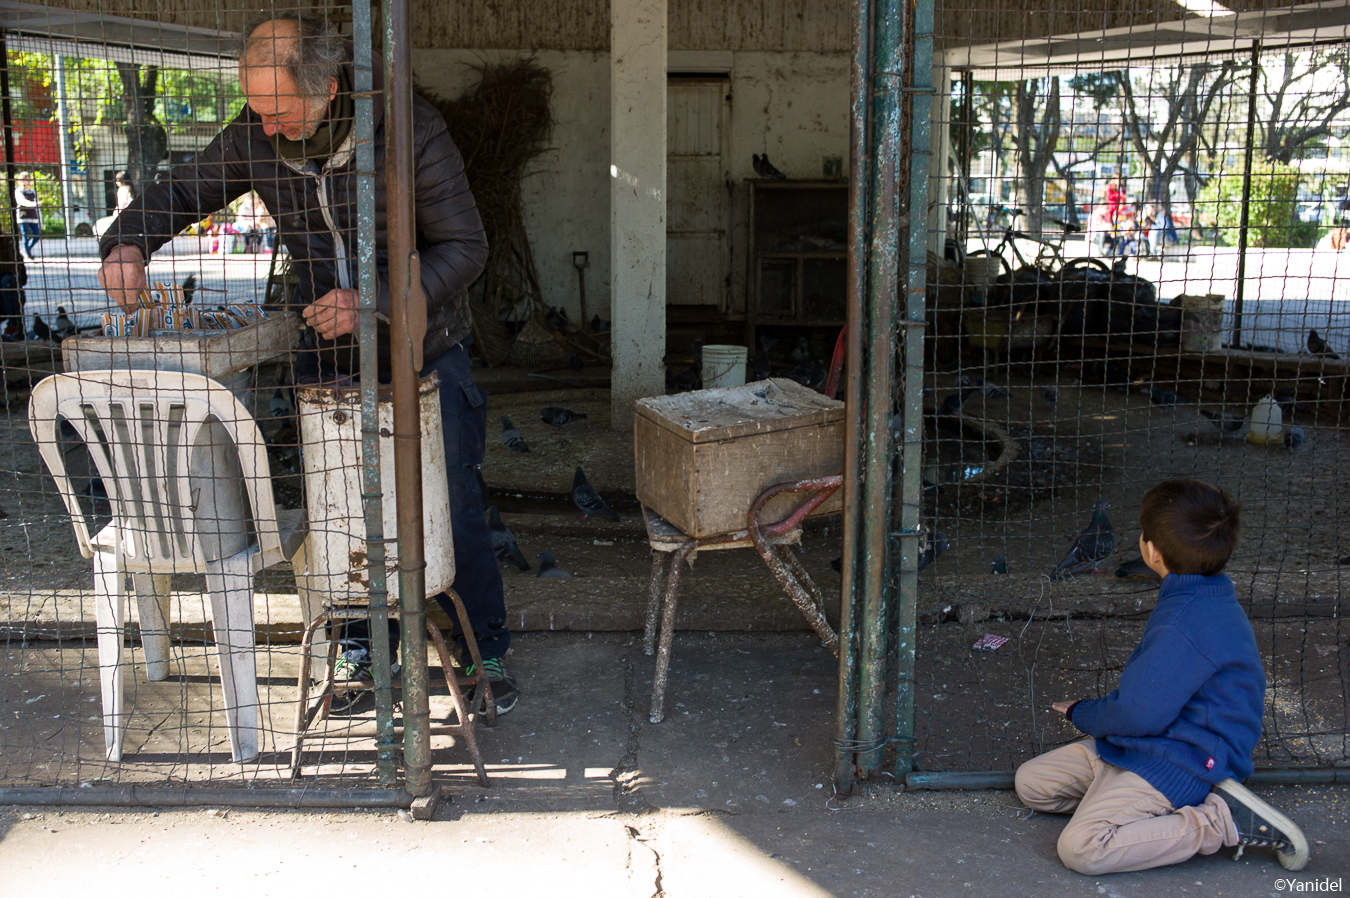
The shot below was taken at 1/12th yet I was not able to remain completely steady before I hit the trigger. It resulted in a lack of sharpness yet I am not sure it has an impact on the picture.

Leica M9 with 50mm Summicron at F2, 1/12, ISO800
IV) Use of a light meter.
The light meters integrated in cameras have two significant disadvantages. The first one consists in the need to raise the camera to your eyes to take a read when you are unsure about light conditions. In street photography, this will often get you spotted and impair a candid shot. On the opposite, if you discreetly take a read with a small light meter, people will notice you less or won't know that you are actually about to take their picture. When the settings corresponding to your read are set, just raise the camera to your eyes and shoot. There will be no more need to fiddle with exposure and lose some precious time in your race to the candid shot.
V) How to work in manual mode in the streets ?
As you hit the street, take a minute to analyze the day's light conditions. Is it sunny, cloudy or already dark ? Does the light change quickly (sunrise or sunset) ? Also, take into account the overall characteristics of the neighborhood you are headed (size and texture of buildings, avenues bordered by tree, parks, riverwalk, etc). If needed, take a few reads with your external light meter to clear any doubts on your assumptions. The lenses you take along in your outing are also important; what is its maximum aperture and what are the apertures you intend to shoot with? With all that information, you'll be able to determine the base settings you will be working with. For example, let's say I plan an outing on a bright sunny day and take my 35mm F1.4 lens. I know that I will need to stop down to F2.8 and a speed of 1/4000 to get correct exposures in the sun light. I might even need to go to F3.5 if the picture contains whites with a high reflective property. As for the F1.4 aperture, and given the maximum shutter speed of my camera (1/4000th), I know that I'll need to mount a 0.6 ND (Neutral Density) filter to reduce the amount of light entering through the lens by two stops.
An sunny day in the harbour of Mar del Plata, these are perfect conditions for street shooting since light will not vary much from one spot to the other.

Leica M9 with 35mm Summilux at F8.0, 1/500, ISO160
Once your base settings are determined, set your aperture and shutter speed to the combination you'll use the most. Then position your finger on your shutter speed dial and leave it there all throughout your outing. Indeed, on a Leica M, the shutter speed is the easiest exposure setting to change and you can do so while holding your camera in one hand. Therefore by having your finger ready on the shutter speed, you'll be able to react quickly to any sudden changes in light conditions. (On a side note, a camera with a speed dial is in my opinion a must when working in manual exposure. Indeed, the more time you spend fiddling with the menus and the LCD, the more you'll miss shots opportunities. The speed dial is easy to glimpse at and some of them have click stops, meaning you don't even have to look at it to change it.
How to start and final words.
I could go on and describe the many situations you could face. Yet these are learnings that it is best to experiment on the spot. But before you turn to all manual mode, ask yourself whether it is absolutely necessary to your street photography ? Automatic exposure systems are excellent nowadays and mastering manual exposure is a long and sometimes frustrating road. The trade-off between the advantages of manual exposure and the time to invest might not result significant enough to go down that road.
If you do feel ready to switch to all manual, then i would recomment to start with a few simple iterations of the Sunny 16 rule. Keep your aperture and ISO constant and learn to modify the shutter speed depending on the light conditions. Help yourself with an external light meter when in doubt about a specific light condition. Also keep in mind that the dynamic range of modern cameras easily allows to recover one or more stops of under or over exposure. This will be useful because you'll make a lot of mistakes in the first weeks (I still do from time to time). Yet you'll soon improve and start to understand light better, this until the speed dial almost feels like an extention of your hand. And that day, you'll feel a great satisfaction in the fact that your pictures are fully the result of your skill.
Comments are closed.